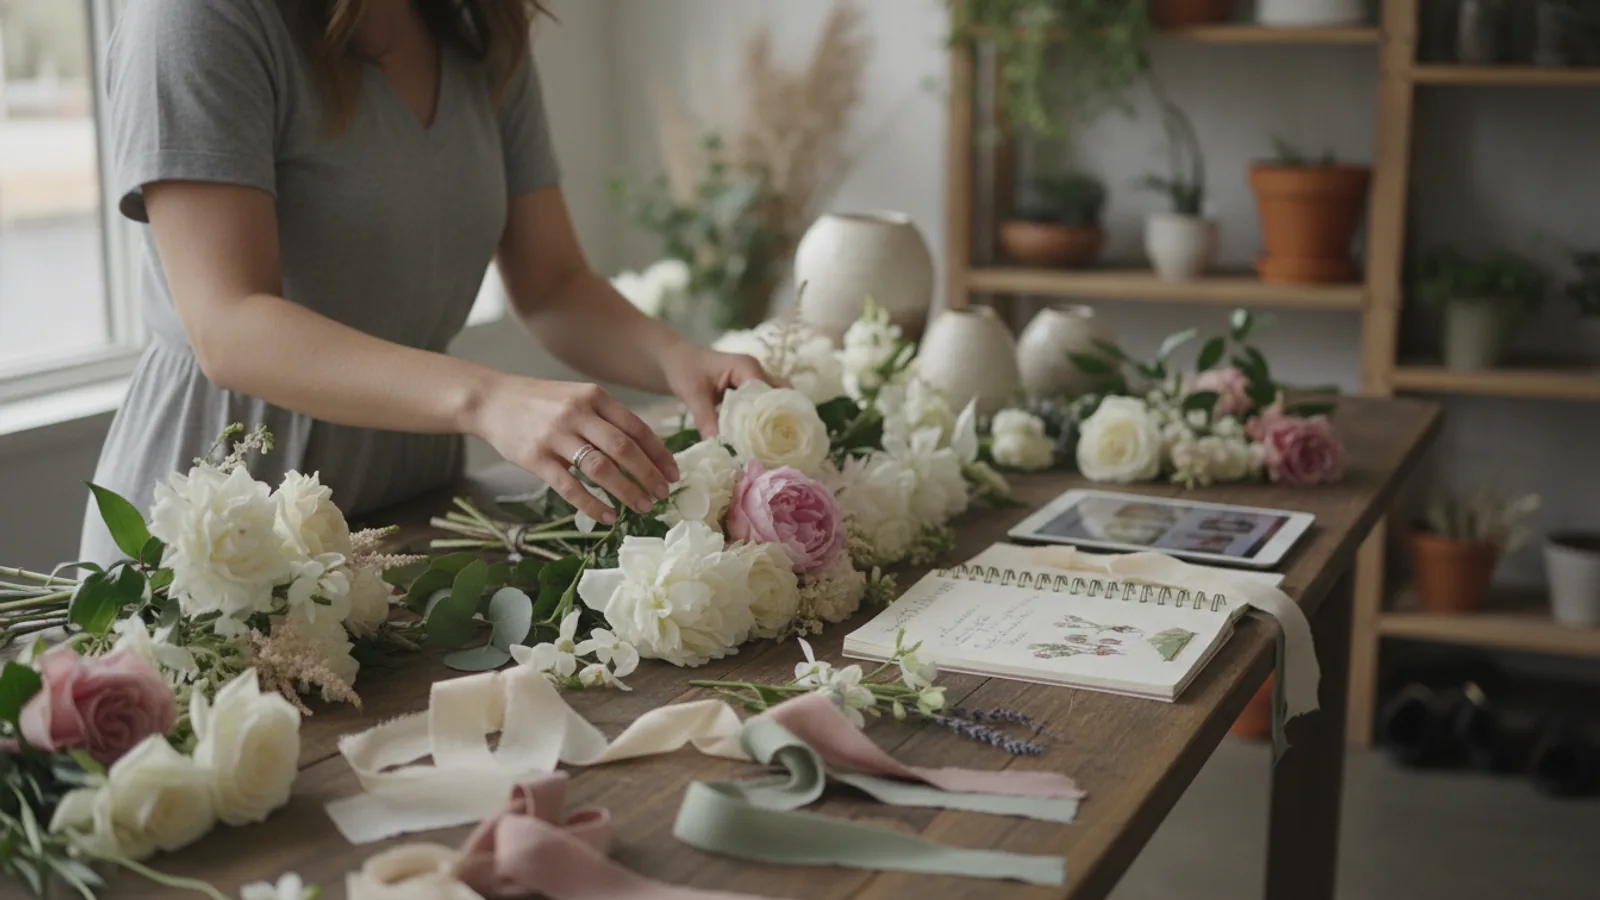
Fresh Flower Bouquet Arrangement Ideas
A practical step-by-step guide to fresh flower bouquet arrangement ideas, including preparation, instructions, common issues, tips, and next steps.

Fresh Flower Bouquet Arrangement Ideas
Arranging fresh flowers into a beautiful bouquet doesn't have to be daunting. This guide will walk you through simple steps to create stunning floral displays, whether you're brightening your own home, preparing a thoughtful gift, or styling for a special occasion. Learn how to select, prepare, and arrange your blooms to ensure they look their best and last longer, bringing joy and a touch of nature's beauty to any setting.
Fast Answer
- Start with: Freshly conditioned flowers
Before You Start
Before diving into the wonderful world of flower arranging, gathering your essentials and making a few quick checks will set you up for success. This preparation stage is crucial for both the beauty and longevity of your finished bouquet.
What You Need
- Fresh Flowers: A selection of focal flowers (the stars), filler flowers (to add texture and volume), and foliage (for a green base and structure).
- Clean Vase or Container: Choose one that suits the size and style of your flowers.
- Sharp Floral Snips or Knife: Essential for clean cuts that help flowers absorb water. Avoid using blunt kitchen scissors, which can crush stems.
- Fresh Water: Always use clean, cool water.
- Flower Food: A sachet of flower food helps nourish your blooms and inhibit bacterial growth.
- Working Space: A clean, flat surface, preferably near a sink for easy water access and tidying.
- Waste Bin: For trimmed leaves and stems.
Safety, Timing, or Context Checks
- Flower Freshness: Always choose flowers that appear vibrant and firm. Avoid any with drooping heads, discoloured leaves, or slimy stems. They should feel cool and crisp to the touch.
- Vase Cleanliness: Ensure your vase is spotless. Any residue from previous arrangements can harbour bacteria, which will shorten the life of your fresh flowers. A good scrub with warm, soapy water is a must.
- Immediate Conditioning: As soon as you bring your flowers home, they need water. Have a bucket or sink ready to place them in after their initial trim. This is critical for rehydration after their journey.
- Understanding Your Flowers: Briefly consider the natural shapes and sizes of your chosen blooms. This will help you envision how they might fit together in an arrangement.
Step-by-Step Instructions
Creating a beautiful fresh flower bouquet is a delightful process. Follow these steps to transform your blooms into a captivating display that brightens any room or occasion.
Gather Your Tools and Flowers
Before you begin arranging, lay out all your necessary tools: your sharp floral snips or knife, your clean vase, flower food, and access to fresh water. Carefully unwrap your flowers and place them gently on your clean working surface. Sort them by type, size, and colour so you can easily pick and choose as you build your arrangement.
Prepare Your Vase with Water and Flower Food
Fill your chosen vase about two-thirds full with cool, fresh water. Tear open a sachet of flower food (most bouquets come with one) and pour it into the water, stirring gently until it dissolves. Flower food provides essential nutrients and helps keep bacteria from growing, which is vital for the longevity of your flowers. A clean vase and nutritious water are paramount for healthy blooms.
Condition Your Flowers (Crucial Step!)
This is arguably the most important step for making your flowers last. One by one, take each stem and remove any leaves that would fall below the waterline in your vase. Submerged leaves will decompose, contaminating the water with bacteria that block water uptake by the stems. Next, using your sharp snips or knife, cut about 2-3 cm (1 inch) off the bottom of each stem at a 45-degree angle. This angled cut increases the surface area for water absorption and prevents the stem from sitting flat on the bottom of the vase, which can block water uptake. Immediately place the trimmed stem into your prepared vase.
Build Your Green Foundation with Foliage
Start your arrangement by placing your foliage (greens) into the vase. This creates a supportive structure and a natural backdrop for your flowers. Distribute the foliage evenly around the rim of the vase, letting some pieces gently drape or arch outwards. Aim for a full, natural look that provides a green 'collar' for your blooms. This initial layer helps to hold your other flowers in place and adds depth.
Place Your Focal Flowers
Now it's time for the stars of your bouquet! These are your largest, most eye-catching blooms (e.g., roses, lilies, sunflowers). Start by placing your focal flowers strategically, often in the centre or slightly off-centre, ensuring they are well-distributed to create visual balance. Vary their heights slightly to add interest. Try to create a natural, organic look rather than a rigid, uniform one. For a classic, balanced look, aim to place focal flowers in an odd number group of three or five.
Add Your Filler Flowers
Filler flowers (e.g., baby's breath, alstroemeria, spray roses) are perfect for filling in gaps between your focal flowers and foliage, adding texture, and creating a sense of fullness. Tuck them gently into empty spaces, ensuring they don't overpower your main blooms. Vary their heights and angles to maintain an airy, natural feel. This step brings the bouquet together, adding depth and softness.
Refine and Adjust for Balance
Once all your flowers are in the vase, take a moment to critically examine your arrangement. Rotate the vase slowly, looking for any bare spots, overly dense areas, or uneven heights. Gently adjust stems by pulling them up slightly or pushing them down. You might need to trim a stem a little more if a flower is too tall. The goal is to create a harmonious and balanced display where each flower has space to shine but contributes to the overall beauty of the bouquet.
The Finishing Touches
Once you're happy with the arrangement, double-check the water level and ensure no leaves are submerged. Wipe down the outside of the vase to remove any drips or debris. Find the perfect spot in your home for your beautiful creation, ideally away from direct sunlight, draughts, or ripening fruit, which can shorten its life. Enjoy the fresh beauty and scent your new bouquet brings!
Quick Reference
| Situation | Use this | Why |
|---|---|---|
| Flowers drooping quickly | Re-cut stems under water & rehydrate | Removes air bubbles and blockages, allowing better water absorption. |
| Bouquet looks sparse | Add more filler flowers or foliage | Creates fullness and texture, closing gaps for a lusher look. |
| Arrangement feels unbalanced | Rotate vase, adjust heights, relocate focal flowers | Helps achieve visual harmony from all angles and gives each bloom space. |
| Water gets cloudy fast | Change water daily & clean vase thoroughly | Removes bacteria buildup, which is the main cause of premature wilting. |
| Stems hard to arrange | Create a 'grid' with floral tape on vase rim | Provides structure for individual stems, especially in wide-mouthed vases. |
Common Problems When You Arrange Fresh Flower Bouquets
Even with the best intentions, you might run into a few snags when arranging fresh flowers. Don't worry, most common problems have simple solutions!
- Problem: Flowers Wilting Quickly. This is often due to poor water uptake.
- Fix: Ensure stems were cut cleanly at an angle upon arrival and that no leaves are below the waterline. Re-cut stems every two days, or if they start to droop, and change the water daily.
- Problem: Uneven or Lopsided Arrangement. Sometimes, one side looks fuller or taller than the other.
- Fix: Always turn your vase as you add flowers, viewing it from all angles. Step back regularly to assess the overall shape. Don't be afraid to gently pull out and re-position stems until you achieve balance.
- Problem: Water Becoming Cloudy or Smelly. This indicates bacterial growth, which is harmful to your flowers.
- Fix: Change the water daily, or at least every other day. Always use fresh flower food. If the water gets bad, empty the vase, wash it thoroughly with warm, soapy water, and then refill.
- Problem: Stems Falling Out or Not Staying in Place. Especially common with wide-mouthed vases.
- Fix: For larger vases, create a grid across the opening with clear floral tape or regular sticky tape. This provides pockets for stems to rest in, giving them more support and structure.
- Problem: Too Much Foliage (or Not Enough). Overdoing the greenery can hide your beautiful blooms, while too little can make the arrangement look sparse.
- Fix: Aim for a balance where foliage frames and supports the flowers without overshadowing them. Remove excess leaves as you go. If you need more, you can often trim extra leaves from other stems or purchase a small bunch of dedicated foliage.
Advanced Tips for Fresh Flower Bouquet Arrangement Ideas
Once you're comfortable with the basics, you can start exploring more sophisticated techniques to elevate your fresh flower bouquet arrangements. These tips can add professional flair and unique character to your creations.
- Embrace the Spiral Technique: This is a classic florist technique for creating naturally rounded bouquets that stand beautifully on their own. Instead of placing stems straight down, insert each stem at a slight angle, all leaning in the same direction around the central focal point. As you add more stems, rotate the bouquet and continue this spiralling motion. The stems will cross over each other and create a strong, self-supporting structure.
- Play with Colour Theory: Go beyond simply picking colours you like. Explore monochromatic arrangements (different shades of the same colour, e.g., light pink to deep fuchsia), analogous colours (colours next to each other on the colour wheel, e.g., yellow, orange, red), or complementary colours (colours opposite each other, e.g., blue and orange, for high contrast). Understanding colour theory can dramatically impact the mood and visual impact of your bouquet.
- Vary Textures and Shapes: A truly dynamic arrangement incorporates a variety of textures and flower shapes. Mix soft, ruffled petals with smooth, glossy foliage; combine round, full blooms with spiky, linear flowers or delicate sprays. This adds visual interest and prevents the bouquet from looking flat or monotonous.
- Consider Visual Weight: Think about how different flowers "feel" in terms of their visual weight. Large, dense blooms have more visual weight than small, airy ones. Balance these elements throughout your arrangement. Place heavier flowers lower down or closer to the centre, and lighter, airier ones towards the edges or higher up to create a sense of lift and movement.
- Master the Art of Grouping: Instead of scattering individual flowers evenly, try grouping similar types of flowers or colours together in small clusters within the arrangement. This creates more impact and allows each type of flower to be appreciated, giving a more intentional and artistic look.
- Incorporate Unique Elements: Don't limit yourself to just flowers and traditional foliage. Consider adding interesting branches, berries, seed pods, or even carefully selected herbs like rosemary or mint for their scent and unique texture. Just ensure they are clean and free of pests.
- Mind the Negative Space: Sometimes, what you don't fill is just as important as what you do. Leaving a little 'breathing room' or negative space between certain flowers can enhance their beauty and prevent the arrangement from looking overly crammed. It allows the eye to rest and appreciate individual elements.
Fresh Flower Bouquet Arrangement Ideas FAQ
Here are some common questions people ask about arranging fresh flowers, with practical answers to help you along your floral journey.
| How often should I change the water in my fresh flower bouquet? | Ideally, you should change the water every day. If daily isn't possible, aim for at least every other day. This keeps the water fresh, minimises bacterial growth, and ensures your flowers have a constant supply of clean hydration. |
|---|---|
| What's the best way to make my fresh flowers last longer? | Beyond daily water changes and flower food, keep your bouquet away from direct sunlight, heat sources (like radiators), and ripening fruit. Fruit releases ethylene gas, which can cause flowers to age prematurely. Re-trim the stems by about 1 cm (half an inch) every 2-3 days to open up fresh channels for water absorption. |
| How do I choose flowers that go well together? | Consider three key elements: colour, texture, and shape. For beginners, choosing flowers in the same colour family (e.g., various shades of pink) or complementary colours (e.g., yellow and purple) is a good start. Mix different textures (smooth, ruffled, feathery) and shapes (round, spiky, delicate) to create visual interest and depth. |
| Can I mix different types of flowers in one bouquet? | Absolutely! Mixing different types of flowers is what makes a bouquet vibrant and dynamic. The key is to select a variety that complements each other in terms of size, form, and colour, creating a balanced and harmonious composition. |
| What if my bouquet looks lopsided or unbalanced? | Don't be afraid to gently pull out and re-position stems. Turn your vase as you work, observing the arrangement from all sides. Sometimes, simply adjusting the height of a few key flowers or adding a piece of foliage to a sparse area can quickly restore balance. |
| Is it okay to remove wilting flowers or leaves? | Yes, definitely! Removing spent blooms or yellowing leaves (known as "deadheading") not only keeps your bouquet looking fresh but also prevents decaying organic matter from contaminating the water and shortening the life of the healthier flowers. It also encourages remaining blooms to open fully. |
Final Checklist for Fresh Flower Bouquet Arrangement Ideas
Before you stand back and admire your beautiful work, run through this quick checklist to ensure your fresh flower bouquet is perfectly arranged and set for lasting enjoyment.
- All flowers are freshly conditioned with angled stem cuts.
- All leaves below the waterline have been removed.
- Vase is clean and filled with fresh water and flower food.
- Foliage base provides support and a natural frame.
- Focal flowers are strategically placed and balanced.
- Filler flowers add texture and fill gaps without overcrowding.
- Arrangement is balanced and visually appealing from all angles.
- No stems are too tightly packed, allowing air circulation.
- Water level is appropriate, and the vase exterior is clean.
- Bouquet is placed in a cool spot, away from direct sun and heat.
What should I check before acting on advice about fresh flower bouquet arrangement ideas?
Use this guide as a starting point, compare current specifications and costs, and check the details that apply to your own situation before making a purchase or booking.
Where can I find related floristry guidance?
Browse the related guides in this section for practical comparisons, planning notes, and next steps that support the same decision.